
Affiliate Disclosure: This post contains affiliate links. If you make a purchase through these links, I may earn a commission at no extra cost to you.
Most people don’t even realize that every business needs a website to survive in this internet age. Whether you are a local shop owner, a photographer, a consultant, or even a small business running from home, your customers expect you to find your business online. In many cases, people always do Google searches for the business before contacting the business owner.
But there is a saying that people rigidly change their minds, thinking that building a website requires coding knowledge, and even that a website is only for big businesses.
And many small businesses don’t know how to build a website, including what hosting is, how domains work, what WordPress plugins are, and how to use them. Even many other technical terms, like SSL certificates, backups, themes, caching, and DNS settings, sound like they’re from another planet, and people try to postpone creating the website.
 That’s why you should choose WordPress.com to build your website.
Build Your Site On WordPress.com Now
I am not here to share the feature list or read a lot of marketing page. I am here to answer only one question.
Can someone with very little technical knowledge build a professional website on WordPress.com?
To find out the answer, I will create a sample business website from scratch and document every step and my experience throughout the process.
In this process, we will cover the following things:
- Creating an account
- Choosing a theme
- Understanding the dashboard
- Creating the main pages
- Building the homepage
- Adding images & branding
- Creating Navigation
Let’s start the process.
1). Creating the Account
Before creating a website on WordPress.com, we have to first create an account on WordPress.com and click on the ” Let’s get started button.
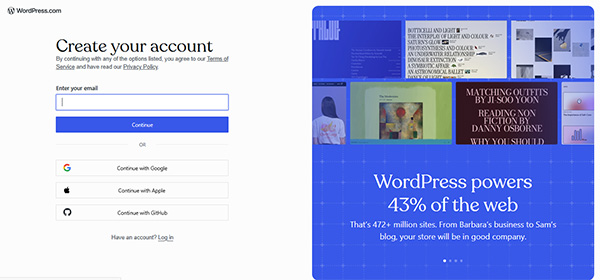 After clicking the button, the signup page asks for the email address & password, and I enter both of them.
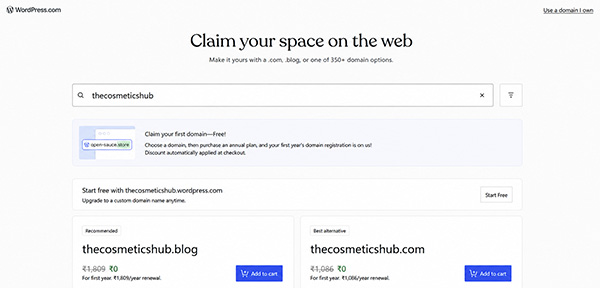 In the above image it asks to write the website name so I filled up thecosmeticshub.
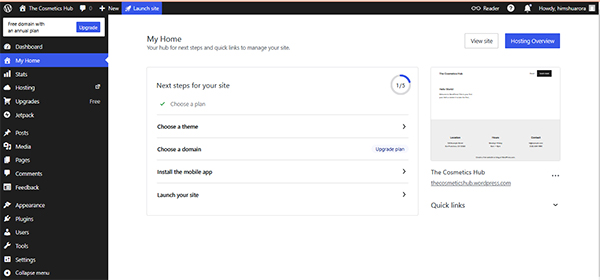 After selecting the plan and completing checkout, you will see the WordPress dashboard above on your screen. In the dashboard, you will see a step-by-step guide to set up your website, as shown in the image above. Let’s move to select our theme now.
2). Choose A Theme
Now that the WordPress.com account is ready, it asks me to select a theme for my website.
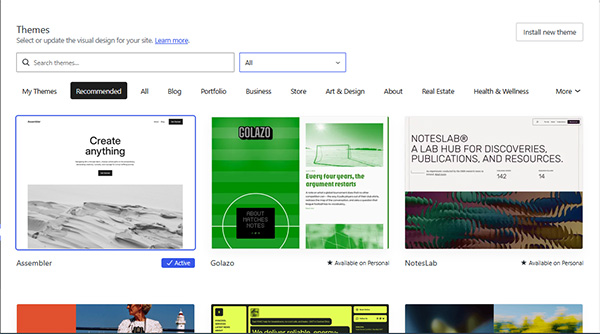 Well, this is thing where most of the beginner get confused as they are hundreds of professionally designed themes available for various niches such as restaurants, service business, photographers, portfolio, bloggers or even online stores.
As we are creating a website for selling cosmetics, I selected a minimalist theme without thinking too much.
 In the theme, the homepage had sections for services, about information, and contact details. The best part, instead of designing the whole website, I just have to replace the sample content with my own and the site is ready.
For beginners, it saves a huge amount of time.
3). Understanding The Dashboard
After the website is created, I quickly spent only a few minutes exploring the dashboard.
Well, if you have never used WordPress before, you might feel like there are lots of options available on the dashboard.
But, after spending some minutes, you will get to know that things are divided in various groups.
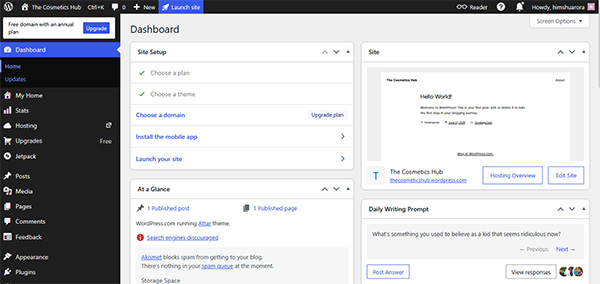 Most of things that I actually needed for building my cosmetic website is place under the following headings.
- Pages
- Posts
- Appearance
- Media
- Settings
I don’t have to search constantly for any hidden options that I need; everything is well placed.
Try WordPress.com Site To Build Your Site
4). Creating The Main Pages
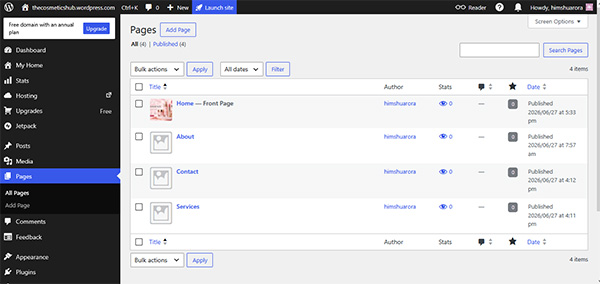
Like other business websites, I also need to create some essential pages for my Cosmetic website.
For my Cosmetic site, I created the following pages
- Home
- About Us
- Services
- Contact
 For creating the pages, you just have to click on Add Page button placed in the left side of the dashboard under pages option.
Each Page also comes with its WordPress block editor, which you use to place your content.
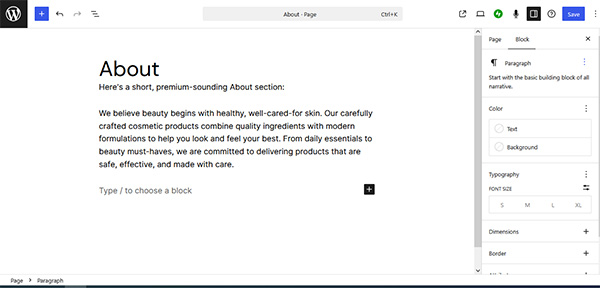 At first look, the editor might look different from the Microsoft Word but after spending some time, everything feels like home to me.
 The best part is that I don’t have to insert any code; I just simply use the available blocks. As shown in the image above, I used the Paragraph block to insert the text.
You will also find many other blocks, such as button block, heading block, column block, and image block. Everything is there, and even a beginner can easily use and build a website without coding.
5). Building The Homepage
After creating the pages, let’s build the homepage. The homepage is the most important part of any business website as it’s the first thing every visitor sees.
I only want to highlight a few things on the homepage.
- A featured image
- Services Section
- Testimonials
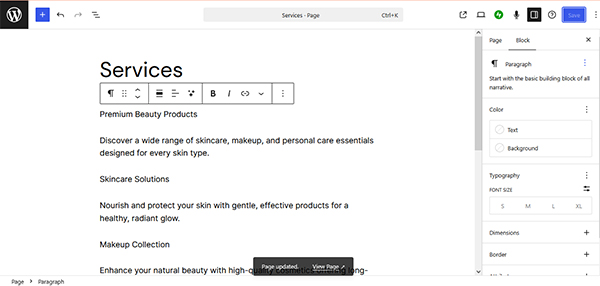
 For creating these things, I don’t have to hire any designer. I just went to the available pattern option and used the featured image, service pattern, and testimonials pattern option, and replaced the content with my own.
I only have to focus on the content pattern and the blocks, and the pattern automatically adjusts itself.
6). Adding Images & Branding
After creating the homepage, it’s now time to add the logo and other business images.
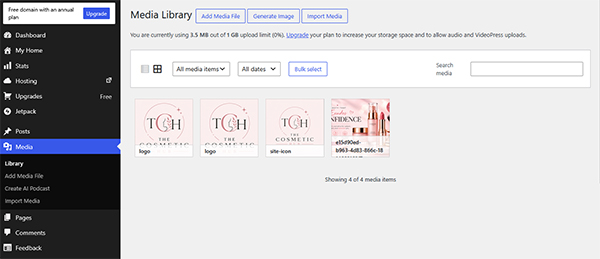 I uploaded the logo and the featured as you have seen in my homepage creation. The upload process is easy, as you upload to social media.
I don’t have to go through folders or file paths, and I don’t have to do any image optimization. The WordPress media library manages everything.
7). Creating Navigation Menu
After finishing adding the logo, it’s time to build the website navigation.
Through the navigation menu, visitors can easily move between the home, about, services, and contact pages.
I don’t have to spend much time creating the navigation menu. As the theme already arranged my pages as the navigation menu in the header. I just have to rearrange them.
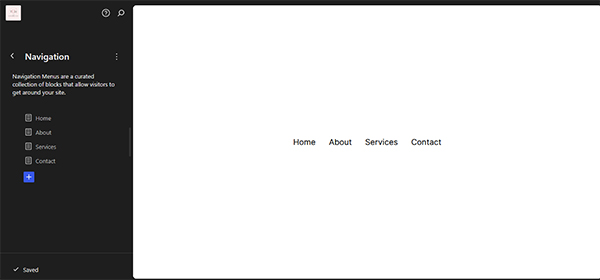 I just go to the Themes option and the click on customize site and a site editor open and after I go to the Navigation option to rearrange my Header menu.
Pricing:
- Free Plan
- Personal – $4 Per Month
- Premium – $8 Per Month
- Business – $25 Per Month
- Commerce – $45 Per Month
Click Here To Check WordPress.com Plans
Things Which I Liked the Most
- First of all, I don’t have to touch a single line of code to edit anything available on my site.
- I don’t have to worry about the hosting, software updates, or any technical stuff as everything is managed by WordPress.com itself.
- The block editor is the best part and work smooth.
Final Verdict
After creating the website above, I can say it is a good option for people who want to build their first website. It makes it easy for people to create pages, edit content, upload images, and publish a website. If you need advanced customization, you can opt in for the paid version.
Build Your Site On WordPress.com Now