

Do you want to increase your subscribers and looking for a fantastic WordPress plugin for it? Then, don’t worry, today we are going to review one of the best lead generation and newsletter WordPress plugin named Mailoptin which allows you to grow and engage your mailing list. MailOptin Email Marketing WordPress Plugin is designed by Collins Agbonghama, a web developer, writer and geek and also the developer of various WordPress plugins including ProfilePress, Affiliate Shop in Minutes, OmniPay. He also wrote various WordPress guides for the top blogs such as SitePoint, DesignModo, SmashingMagazine, Hongkiat, Tut+ and Medialoot. Don’t forget to check out his portfolio on WordPress repository.
 More Info / View Demo Try Free Version
Mailoptin Lite WordPress Plugin Review
MailOptin Email Marketing WordPress Plugin will be perfect for designers, developers, business owners, photographers, and for everyone who wants to increase his/her subscriber list. With this powerful plugin, you can quickly generate leads for your business, send automated newsletters with event-triggered features, and display targeted messages across your WordPress site with popups. You can quickly add the subscribe form just before and after of your blog post, and the sidebar or widget option will let you highlight the subscribe form in your blog sidebar.
You might also like:
- Best WordPress Popup Plugins
- Best Social Content Locker WordPress Plugins
- Best Crowdfunding WordPress Plugin
You don’t need to hire any designer to customize the subscribe form as this plugin comes with an easy-to-use drag-and-drop form & template builder, which allows you to create fantastic and conversion-optimized opt-in forms and email marketing templates. It is integrated with all the popular email marketing services, including MailChimp, Aweber, ConstantContact, CampaignMonitor, Sendy, and much more integration are coming in the next version.
Features of Mailoptin Lite WordPress Plugin
Mailoptin email marketing WordPress plugin comes in two variants i.e., Lite & Premium. We are reviewing the lite version of Mailoptin in this review. The Mailoptin lite variant comes with lead generation and newsletter options.
The lead generation will allow you to grab the emails of your visitors through lightbox opt-in forms, before & post option forms, and sidebar opt-in forms.
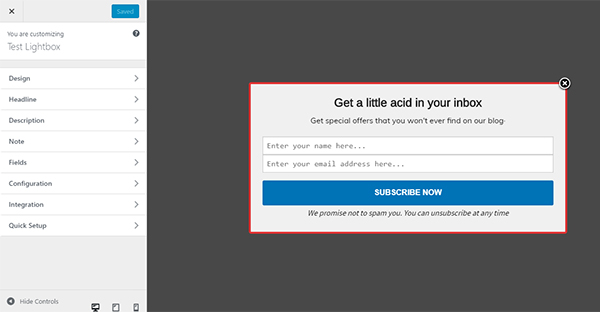
1).Lightbox/Popup Optin Forms
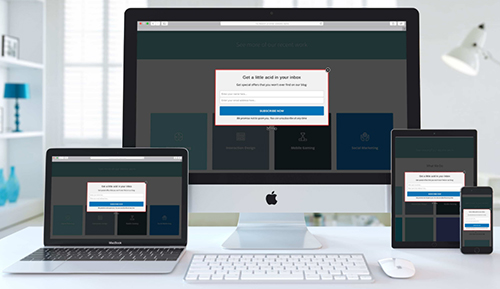
It will allow you to display beautifully designed pop-up opt – in forms and helps to grab the visitor’s full attention and convert them instantly. With easy to use form builder, you can customize every part of your pop-up within just a few seconds.
2).Before & After Optin Forms
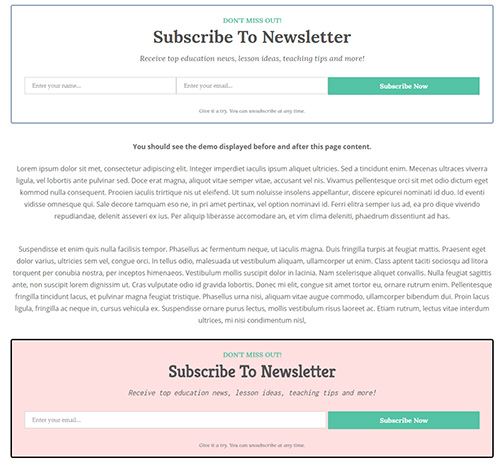
You can quickly place an attractive subscriber form before & after of your blog post and help you to convert your blog readers and site page viewers.
3).Sidebar/Widget Optin Forms
Most of the sidebar optin forms are ugly, and in reality, you did not get any subscribers for your blog, but with Mailoptin sidebar optin forms will allow you to grow your email list and convert your visitors into your customers.
The Mailoptin lite version will allow you to create three optin campaigns, but if you want to create more, go for their premium version.
Newsletter & Automation
Mailoption powerful email template builder will allow you to create automated email campaigns and newsletters that are highly optimized for the highest conversion. The emails created by Mailoptin are responsive across all display devices. Other features of the newsletter option are as follows.
- Scheduling Option: The scheduling option will allow you to schedule your newsletter, select your preferred date and click on ok.
- New Post Notification: It lets you create an automated newsletter or email notification of your newly published blog post and helps you to send it to your registered users.
- Multipart Email: Mailoptin WordPress plugin will send beautiful HTML newsletters alongside plain – text alternatives to support non – HTML email clients.
- Beautiful and responsive email templates are ready to use and customize.
Click Here To View MailOptin WordPress Plugin In Action
How to Use & Setup Mailoptin Lite WordPress Plugin
I know you are very well impressed with the features of the Mailoptin plugin, and now we are going to show how you can use and set up this fantastic plugin. As we are reviewing the lite version, so don’t forget to download the plugin from the WordPress repository itself. If you want to go with their premium version to use all the premium features, then don’t forget to visit their official website.
1).Install The Plugin from WordPress Dashboard
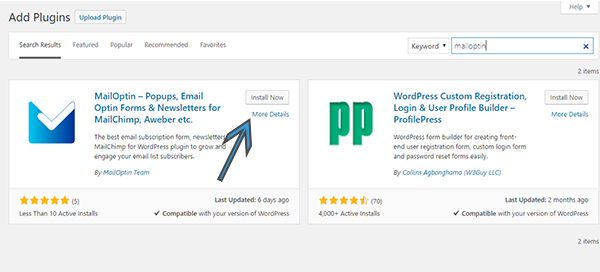
First, go to your WordPress dashboard and search Mailoptin and click on install now and then activate it.
2).Go To Setting Options
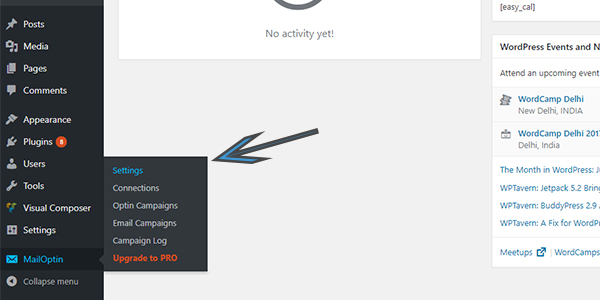
Second, You will find the settings of the Facebook page promoter lightbox plugin under the plugin section, or you can directly go to the settings through the Arevico setting option available at the end of your dashboard menu. We have filled in the required details, as you can see above in the picture.
3).General & Email Campaign Settings
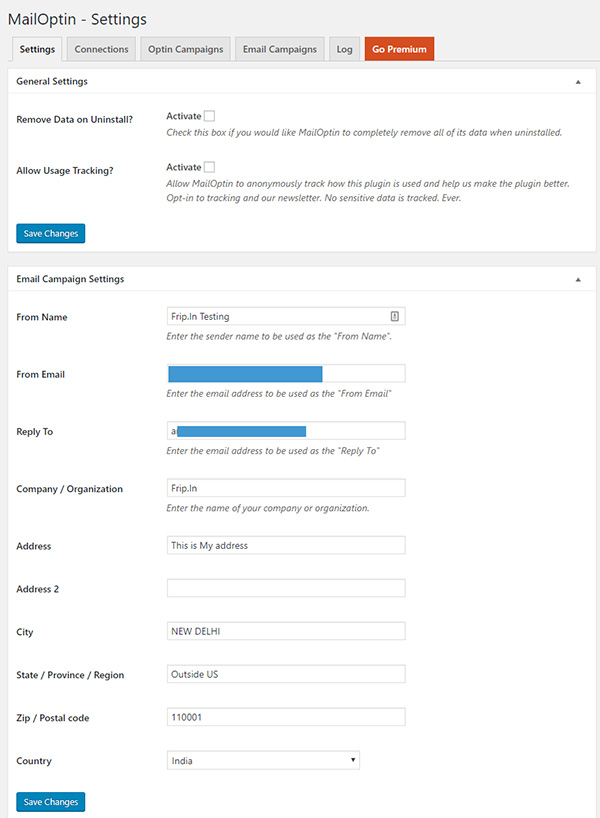
In the general settings, you will find the remove data on uninstall option, which completely removes the data when you uninstall the plugin from your WordPress site. Allow usage tracking option will allow your Mailoptin team to anonymously track how this plugin is used and help them to make their plugin better. We are using MailChimp, so we have added the API key of MailChimp.
While in the email campaign setting, you must fill some necessary fields related to the company or blog. It includes from name, from email, reply to, address, company name, city, country, zip, postal code, state, etc.
4).Connection Settings
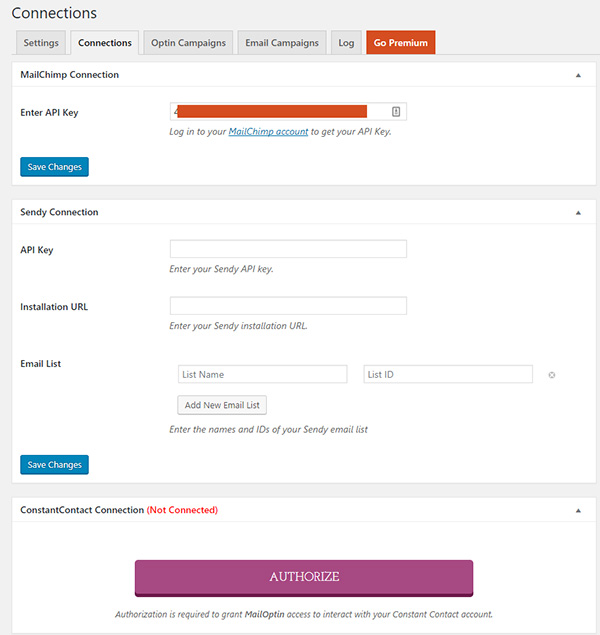
In this setting, you have to add the API keys of the email marketing service that you are using for collecting your subscriber list, such as MailChimp, Aweber, Sendy, Campaign Monitor, Constant Contact, etc.
5).Optin Campaigns
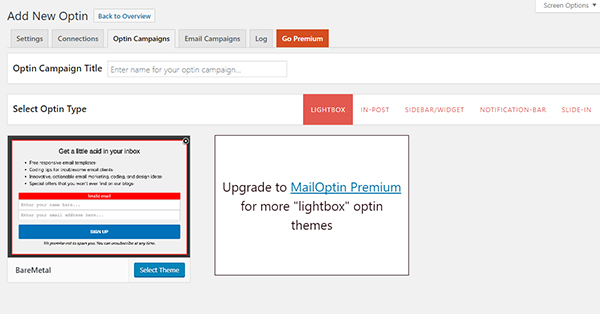
This option will allow you to create a lightbox, in post, sidebar, notification bar and slide – in optin forms for your site. You have to click on building a new one to create your required option form.
6).Email Campaigns


The email campaign option will allow you to add new post notification campaign means whenever a new post is published, this plugin will send an email to your subscribers.
As we have previously said that Mailoptin comes in two variants i.e. lite and premium and you have already seen the free features of Mailoptin in the above review and now we are sharing some premium features of this Mailoptin plugin below.
Premium Features of Mailoptin Plugin
- Automated / Event triggered newsletters
- Different optin types such as notification bar & slide – ins
- Exit & Slide – ins triggers to boost conversions
- Pageviews & time on site triggers
- Scroll trigger
- Advanced analytics
- Branding removal
- Custom CSS
- Lead bank
- Display effects etc.
Mailoptin Pricing
- Lite: Free with limited features – Download Now
- Standard: $99/year – Click Here
- Pro: $199/year – Click Here
- Agency: $499/year – Click Here
Plugin Support:
The support for the free version is available at WordPress repository, and for the premium version, you have to visit their website.
Conclusion:
I would surely recommend you to use this fantastic Mailoptin plugin as it helps you to convert your site, visitors, into long–life subscribers. You can easily setup it without touching a line of code. Don’t think again, grab it and start growing your subscriber list.
More Info / View Demo Try Free Version
Thanks for the review man. Happy to answer any questions your readers may have.